This guide explains how to upload media to Amazon S3 using the CyberDuck client.
There are many other S3 client applications you can use also, such as:
Before you start
You will need the following information. This may have been provided by 7fivefive when your system was deployed, or your system administrator may will be able to retrieve these for you:
-
S3 bucket name
-
AWS region, for example
eu-west-1 -
Authentication method
-
AWS access key and secret key, or
-
Installation
-
Navigate to the Cyberduck official site
-
If you are on Windows or Mac, you can download the application from your OS' native app store. You may also download the application from the site.
-
Launch Cyberduck.
Configuring your S3 profile
Before you can upload content to Amazon S3, a CyberDuck profile needs to be created. This only needs to be done once. In the guide below we show how to configure a profile using static AWS access keys, however there a many other ways to authenticate with Amazon S3. See this page for more details.
-
Open Cyberduck.
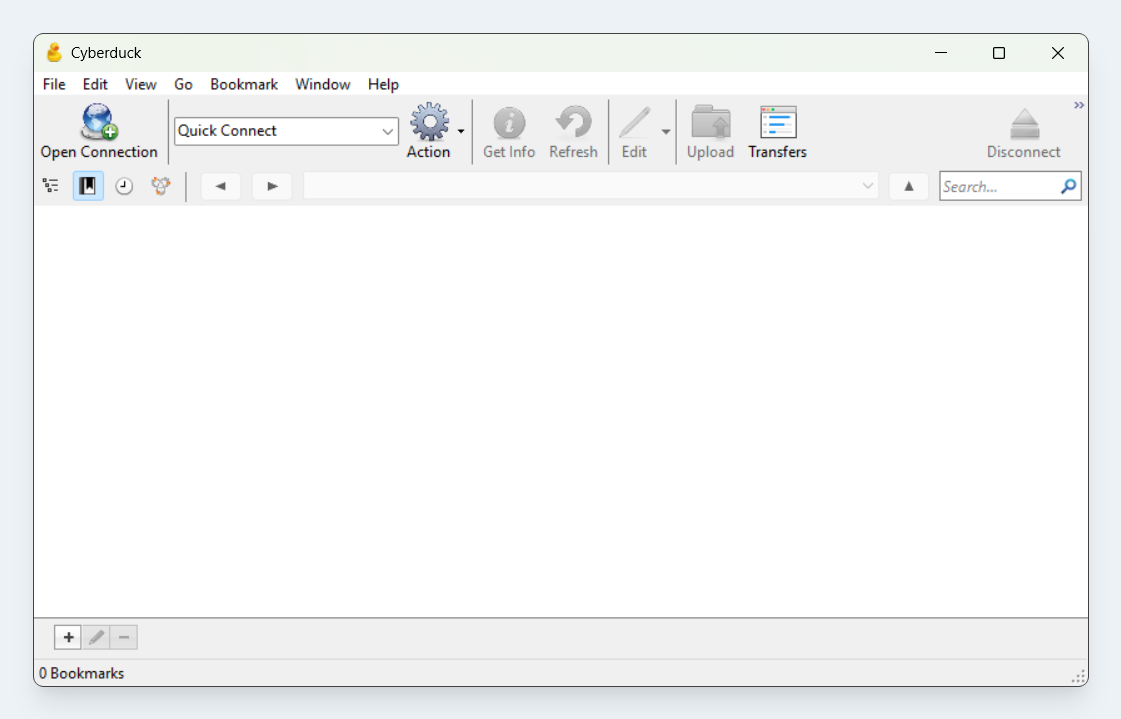
The CyberDuck user interface -
Select the
Bookmarkmenu, and then selectNew bookmark. -
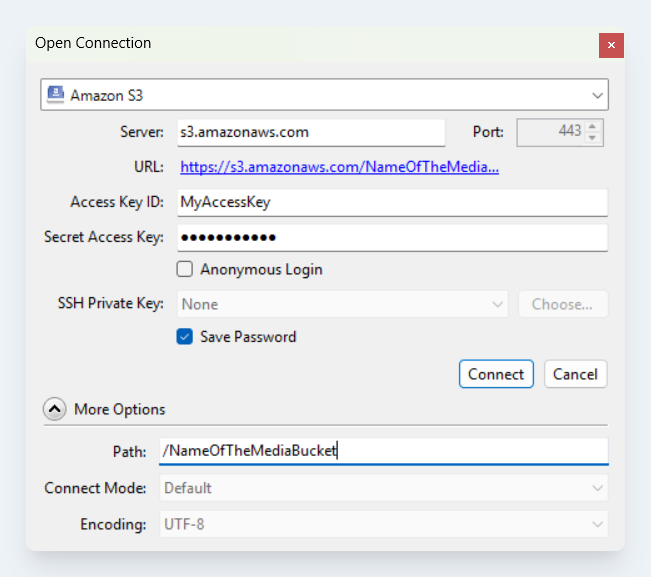
Set the protocol to Amazon S3.
-
Modify the following values
-
Access Key ID
-
Secret Access Key
-
Path Set this to the bucket name you administrator provided you.
-
-
Click the close button
-
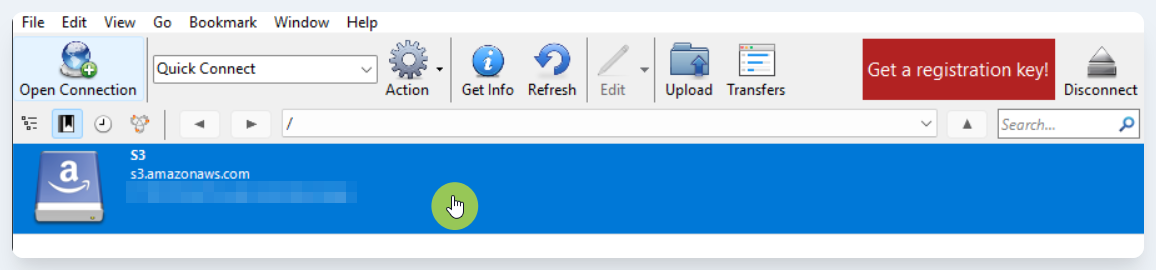
You will now have a new bookmark added. Double click this to connect to the S3 bucket:
-
You have now connected to the S3 bucket and you can browse its contents. You can navigate folders by double clicking them, and then use the


Folders (prefixes) in the bucket
-
To upload files or folders to the bucket, you can:
-
Drag and drop these from your file explorer
-
Click the
Uploadbutton to be prompted to select a file or folder
-
-
Once you do this, the
Transferwindow will appear. This displays the upload status of the file or folder.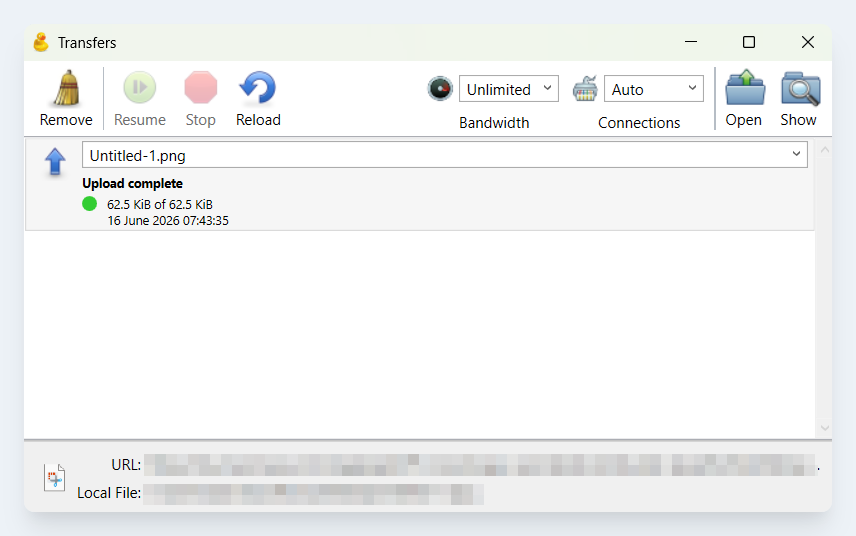
The Transferswindow
-
Your file or folder is now uploaded and will be shortly visible from within Lens
Common issues and caveats
-
Avoid renaming folders (prefixes) with lots of files within them.
-
If you get access denied errors, contact your Lens administrator or support team.