Adding a bookmark
-
Login to the 7fivefive Lens application with a user that has the
Administratorrole or has theAccess to Settingsoption enabled on their role. -
In the sidebar or navigation bar go to the
Configurationoption, then select thePortalitem from the menu -
Under the
Portalsection, select theBookmarksoption -
Click the
Addbutton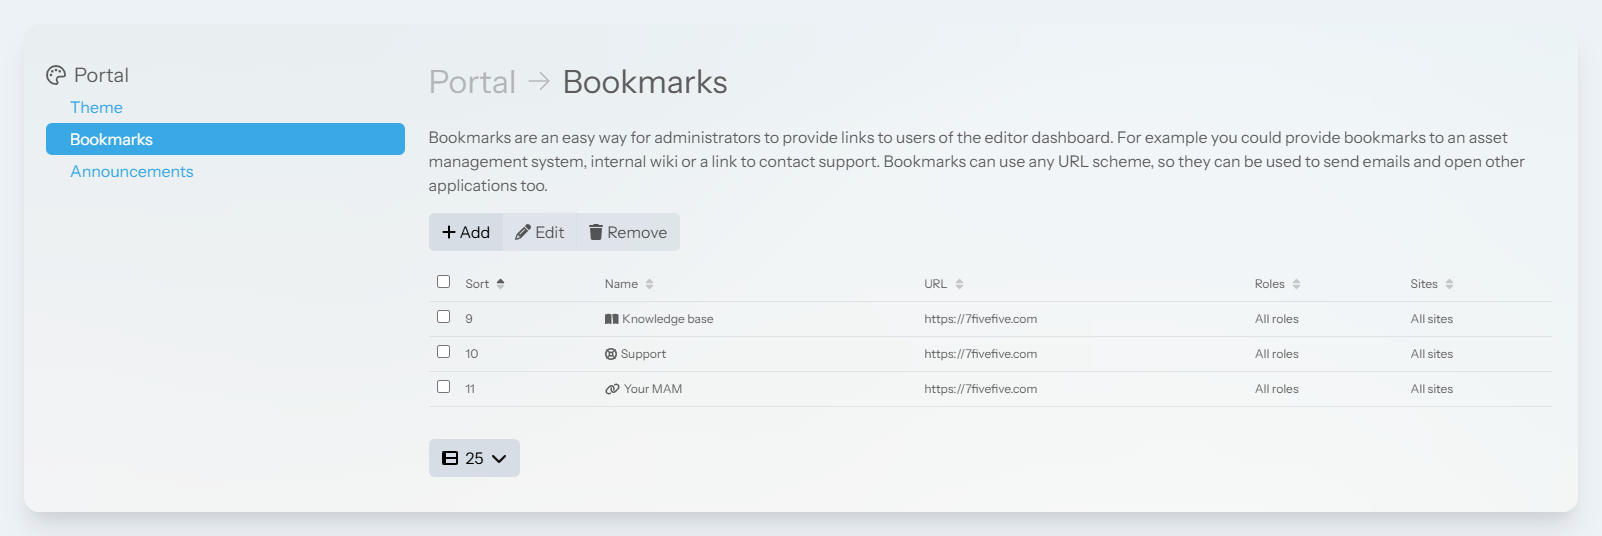
-
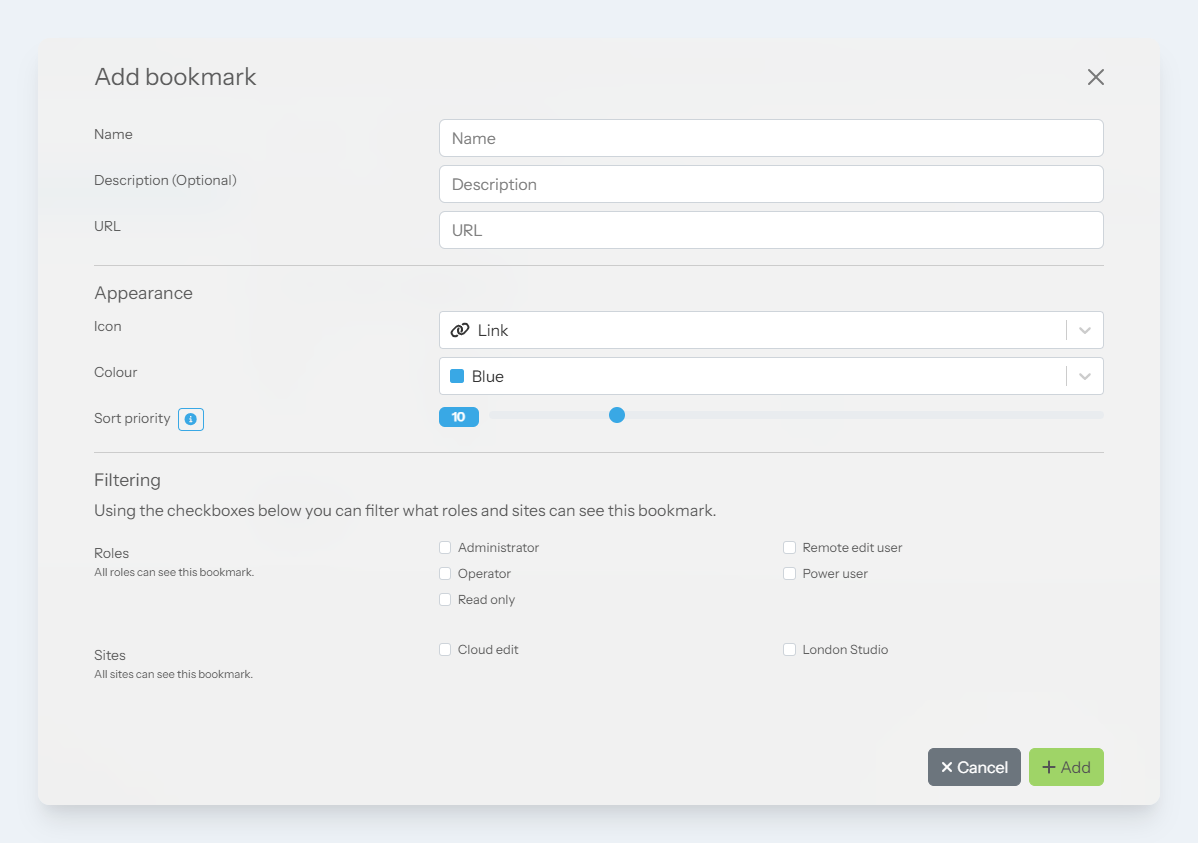
The
Add bookmarkmodal will appear. In theNamefield, enter the name for the bookmark. This is what will be displayed on the Editor Centre page. -
(Optional) Enter a description for the bookmark. This will be shown underneath the bookmark name on the Editor Centre page.
-
In the
URLfield, enter the URL that users will be taken to when the bookmark is clicked -
(Optional) Select an icon for the bookmark
-
(Optional) Select a colour for the bookmark
-
(Optional) Set the sort priority number for the bookmark. A value of
0will mean the bookmark is at the top of the list. -
(Optional) Specify which roles can see the bookmark
-
(Optional) Specify which sites can see the bookmark
-
Click the
Addbutton
Removing a bookmark
-
Login to the 7fivefive Lens application with a user that has the
Administratorrole or has theAccess to Settingsoption enabled on their role. -
In the sidebar or navigation bar go to the
Configurationoption, then select thePortalitem from the menu -
Under the
Portalsection, select theBookmarksoption -
Check the checkbox next to each bookmark you would like to remove
-
Click the
Removebutton