.png)
Scheduling infrastructure: Adding a new event
The Lens Infrastructure Availability Manager (IAM) is responsible for scheduling when infrastructure groups are powered on and off. IAM is controlled by an easy-to-use calendar interface that allows administrators to easily schedule multiple power-on and power-off events per day. This article will explain how to create a new event.
Adding an event
Login to the Lens Portal
In the left sidebar expand the
Configurationmenu and select theInfrastructureoptionUnder the
Schedulingsection, select theCalendaroptionSelect the tab that corresponds with the day you would like the schedule item to run
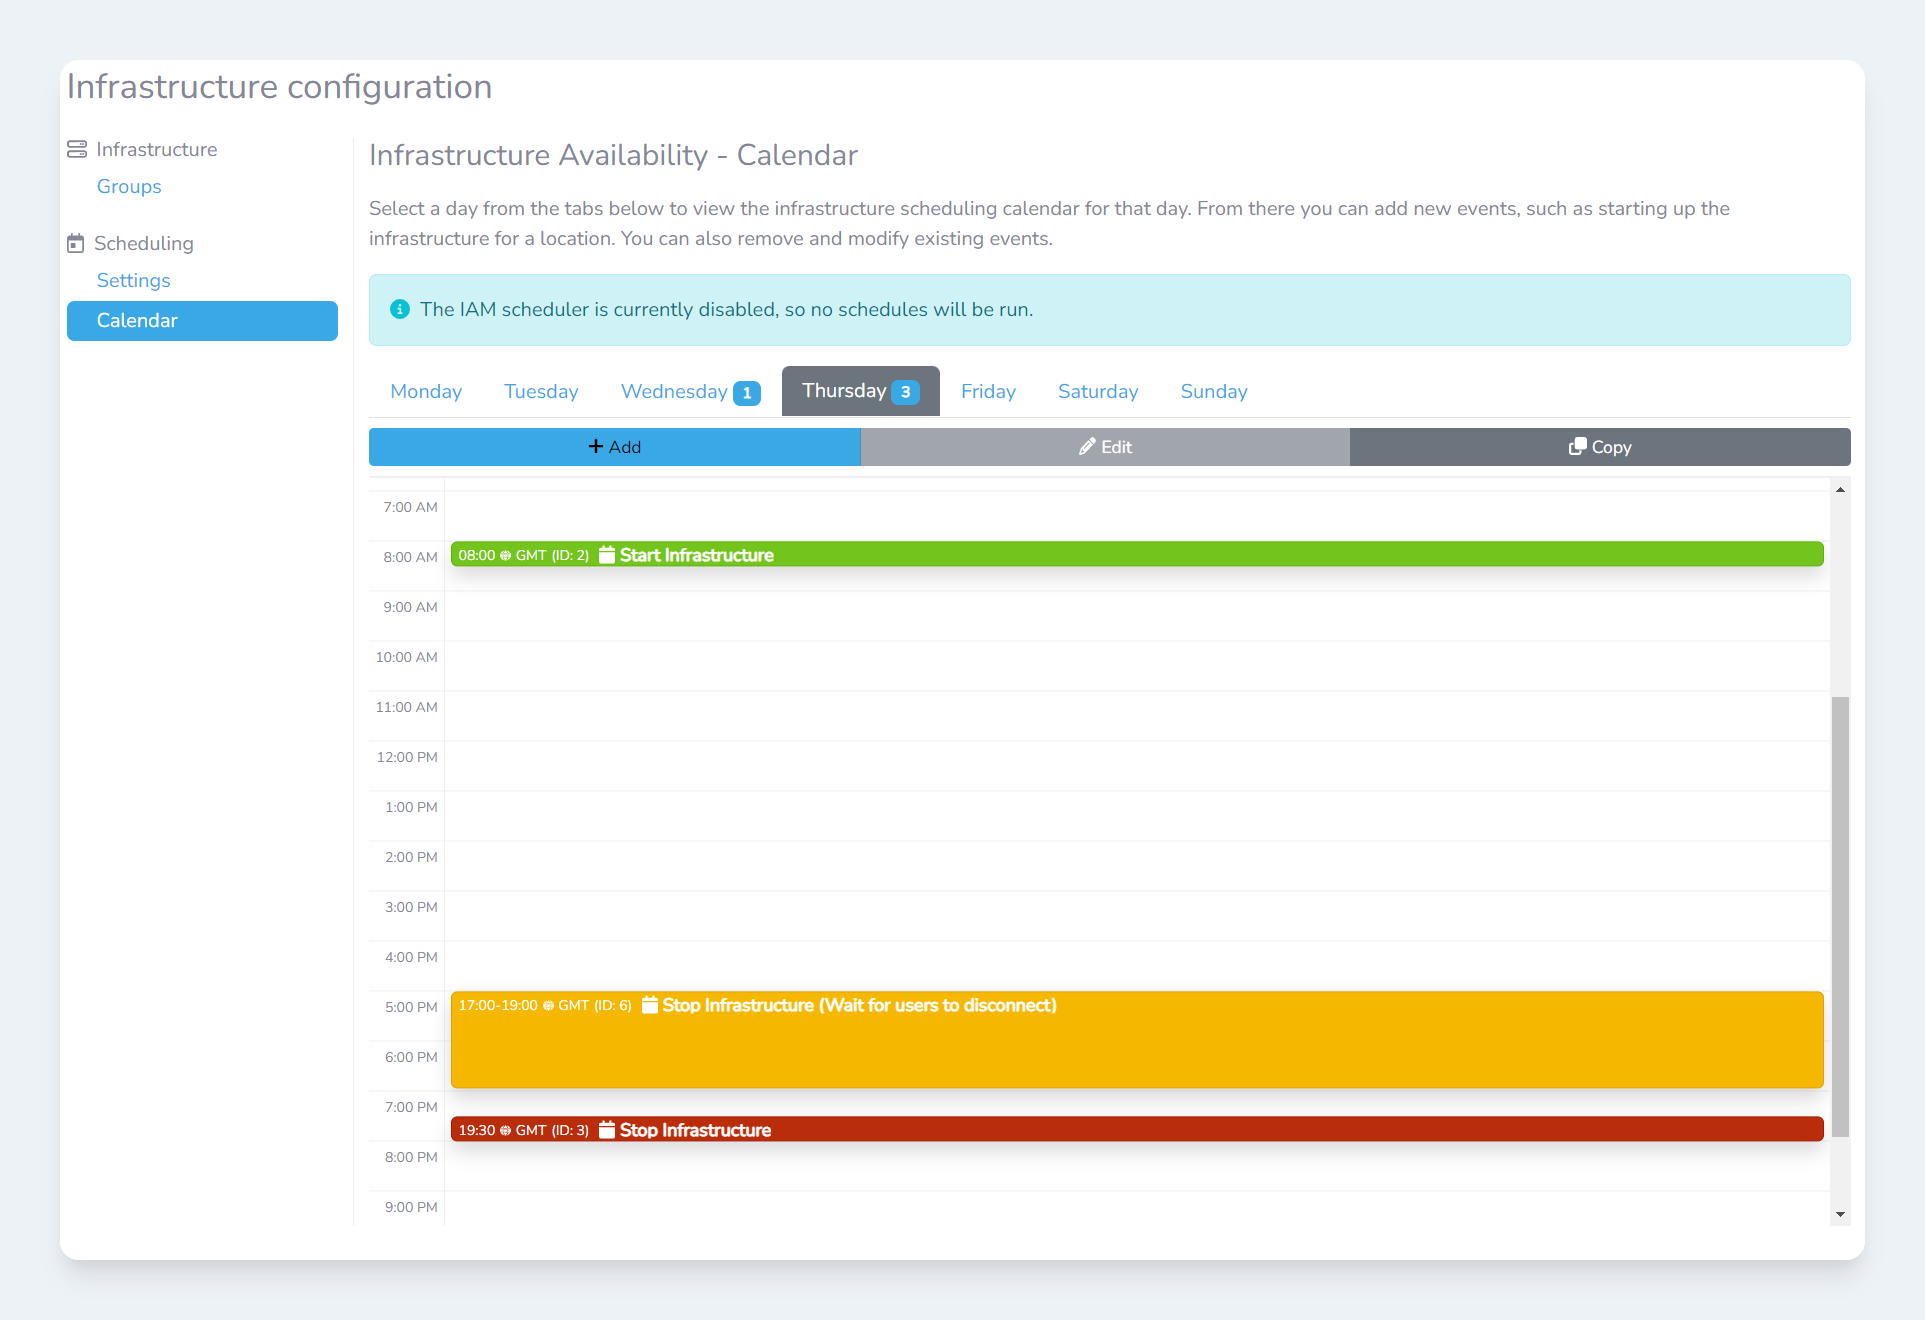
The infrastructure scheduling calendar
Click the
AddbuttonYou will now see an
Add eventmodal appear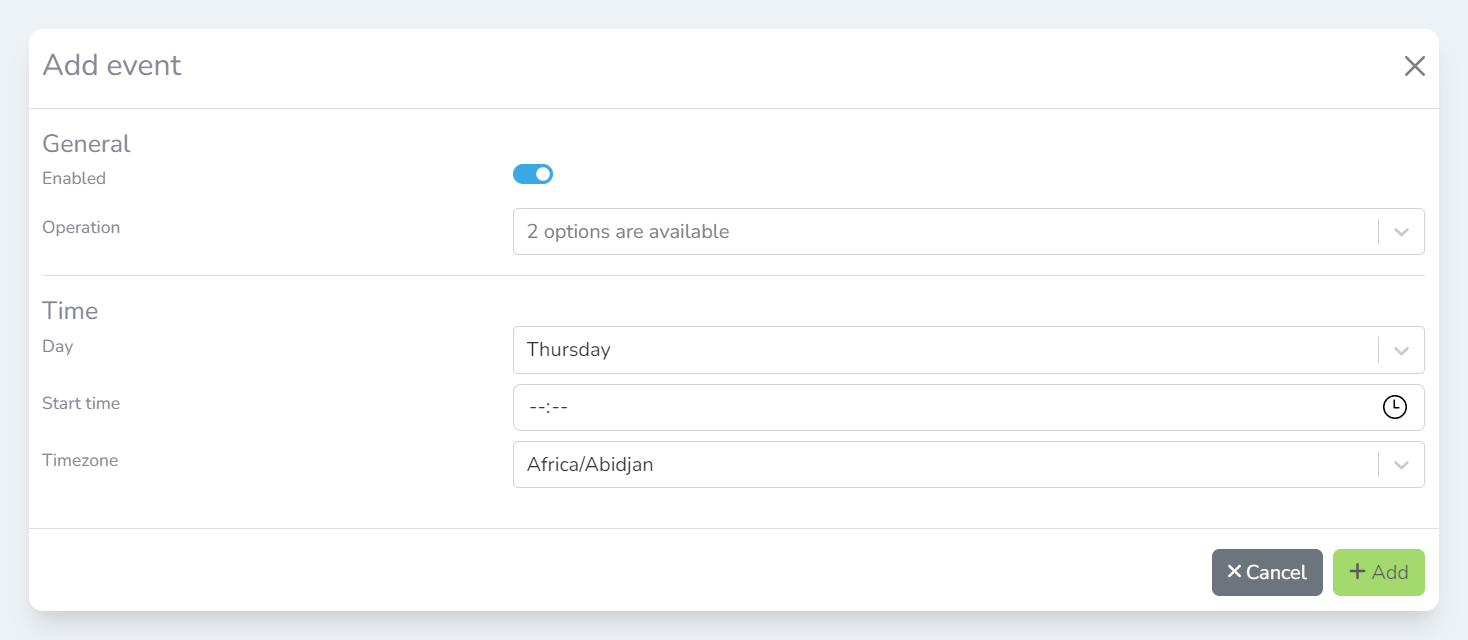
The
Add eventmodalIn the
Operationdropdown field select the desired operation. For more information on workstation schedule operations see this article.Follow the instructions relevant to your desired operation type
Adding an event: Start
In the
Start timefield, enter the time that you would like this event to run from.In the
Timezonefield, select the timezone that this event should be run. For most use cases this should be the same timezone as where the workstations targeted are located. For example, if the workstations being controlled are in New York, USA then theAmerica/New_Yorkoption is most likely the best option.Click the
Add button
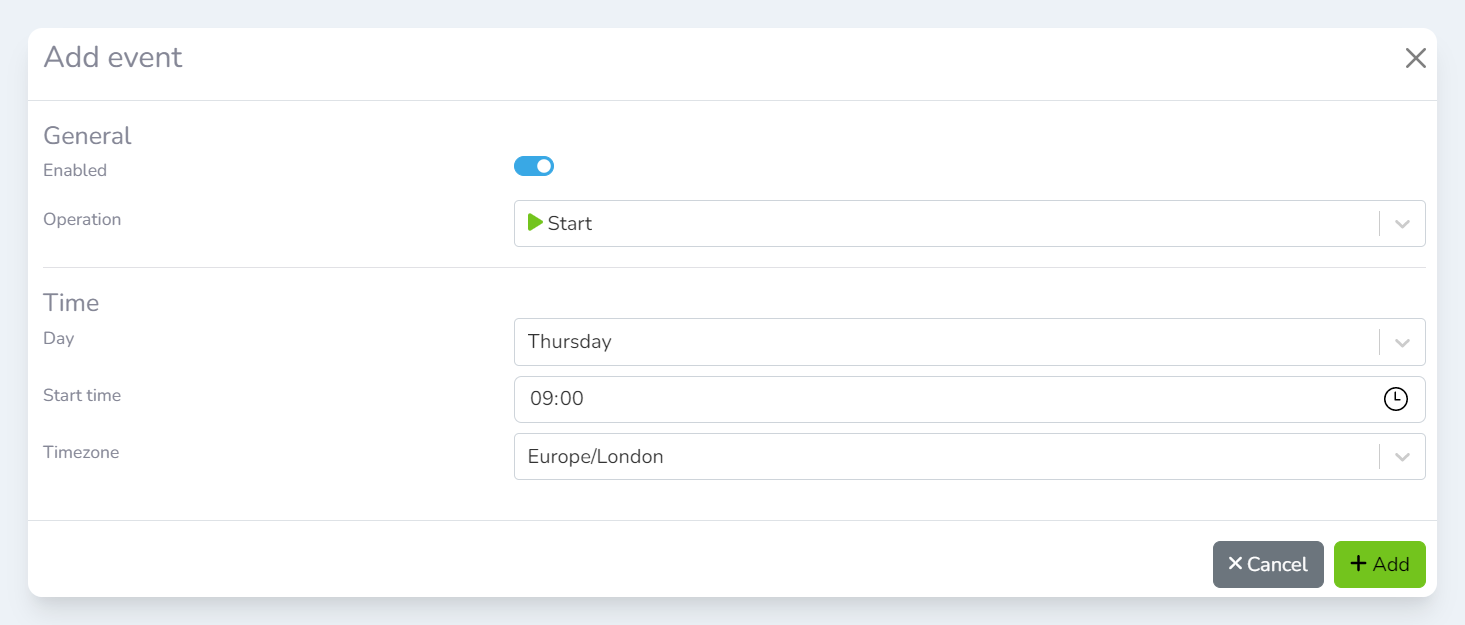
An example configuration for a ‘Start’ event
Adding an event: Stop (Wait for users disabled)
In the
Start timefield, enter the time that you would like this event to run from.In the
Timezonefield, select the timezone that this event should be run. For most use cases this should be the same timezone as where the workstations targeted are located. For example, if the workstations being controlled are in New York, USA then theAmerica/New_Yorkoption is most likely the best option.Click the
Add button
An example configuration for a ‘Stop’ event
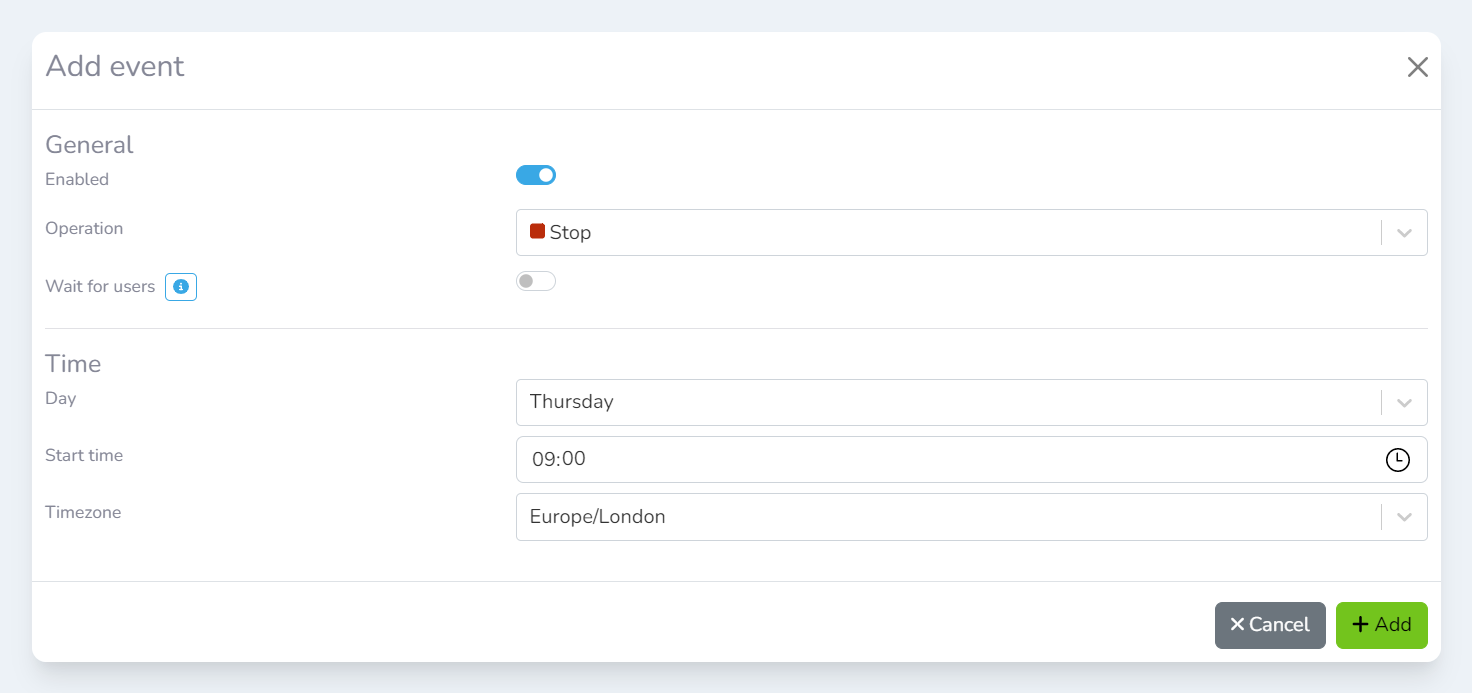
Adding an event: Stop (Wait for users enabled)
Check the
Wait for userstoggleIn the
Start timefield, enter the time that you would like this event to run from.In the
End timefield, enter the time that you would like this event to stop running.In the
Timezonefield, select the timezone that this event should be run. For most use cases this should be the same timezone as where the workstations targeted are located. For example, if the workstations being controlled are in New York, USA then theAmerica/New_Yorkoption is most likely the best option.Click the
Add button
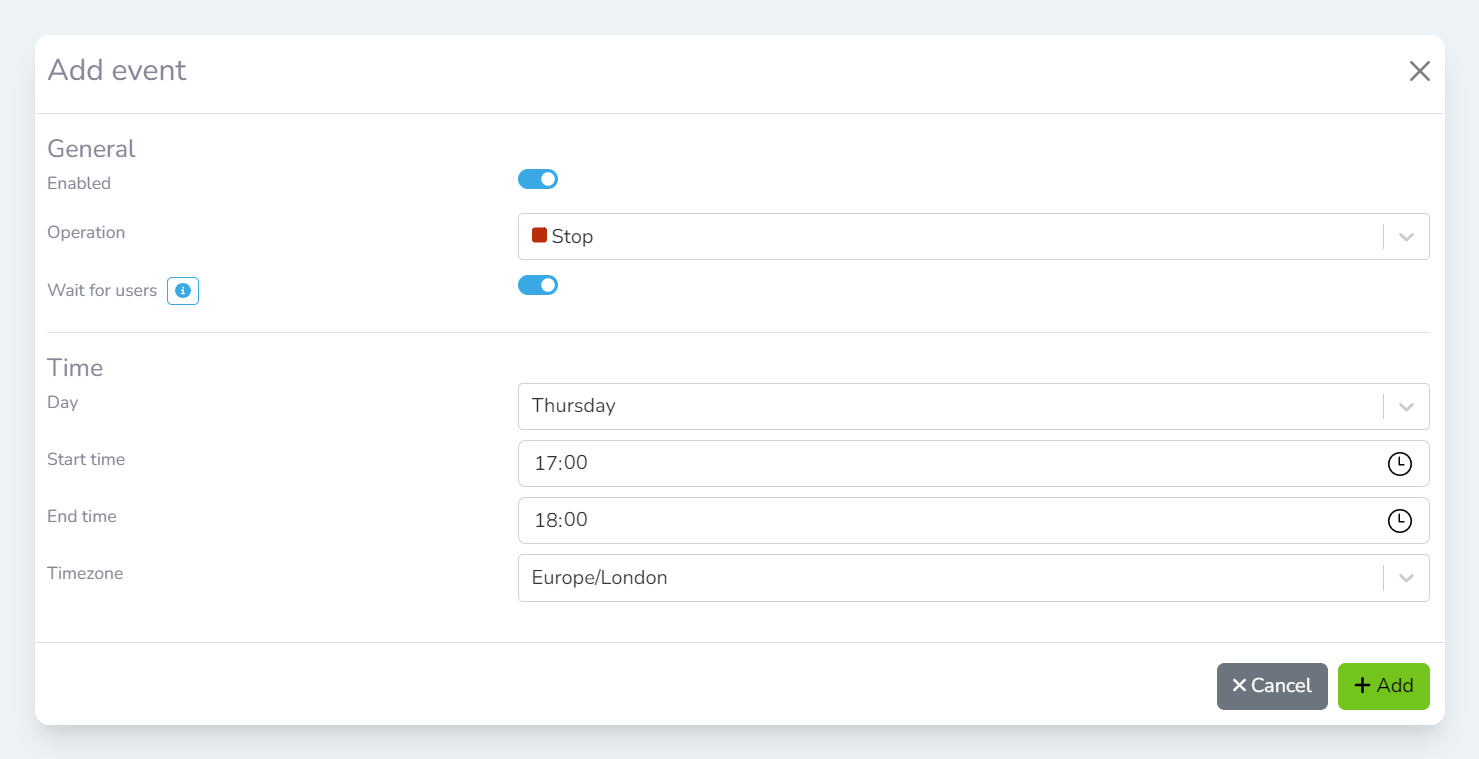
An example configuration for a ‘Stop’ event with the Wait for users option enabled