Once SAML/SSO has been configured, users will be provisioned at login. By default, users will be assigned the Remote Edit User role. If the SAML IDP is sending group information to Lens, then the Lens Portal can automatically assign a role to a user based on their SAML groups.
How roles are evaluated
A users role is evaluated based on the following criteria:
-
If a users role has a role other than
Deny access, they use the users assigned role -
If a users role is
Deny accessbut they are part of a group that does allow access, then they will be assigned the group’s role -
If a user's role is
Deny accessand they are not part of a group, then they will be denied access
Assigning a role based on SAML groups
-
Login to the Lens Portal. The user must have the 'Access to Settings' permission for the location where the scheduler will be enabled.
-
In the left sidebar, open the
Configurationmenu, then select theSettingsoption -
Under the
Rolesgroup, select theIdentity Mappingoption -
Click the
Addbutton -
A
Add role mappingmodal will appear. In theGroup Namefield enter the name of the SAML group. This is case-sensitive. -
In the
Rolefield, select the role you would like users that have the specified group name to have. -
Click the
Addbutton
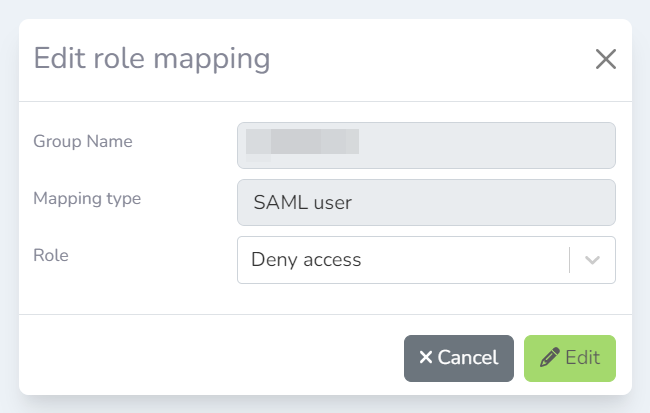
Assigning a role to a SAML user
-
Login to the Lens Portal. The user must have the 'Access to Settings' permission for the location where the scheduler will be enabled.
-
In the left sidebar, open the
Configurationmenu, then select theSettingsoption -
Under the
Rolesgroup, select theIdentity Mappingoption -
Check the checkbox next to the user you want to assign a role to
-
Click the
Editbutton -
In the
Rolefield, select the new role -
Click the
Editbutton