The dashboard page is where the main controls for the remote edit workstations are located. There are currently two different ways of accessing the controls:
-
A multi-select drop-down for controls that support controlling multiple workstations at once
-
A workstation specific drop-down for actions that control only one workstation.
Using the multi-select drop-down
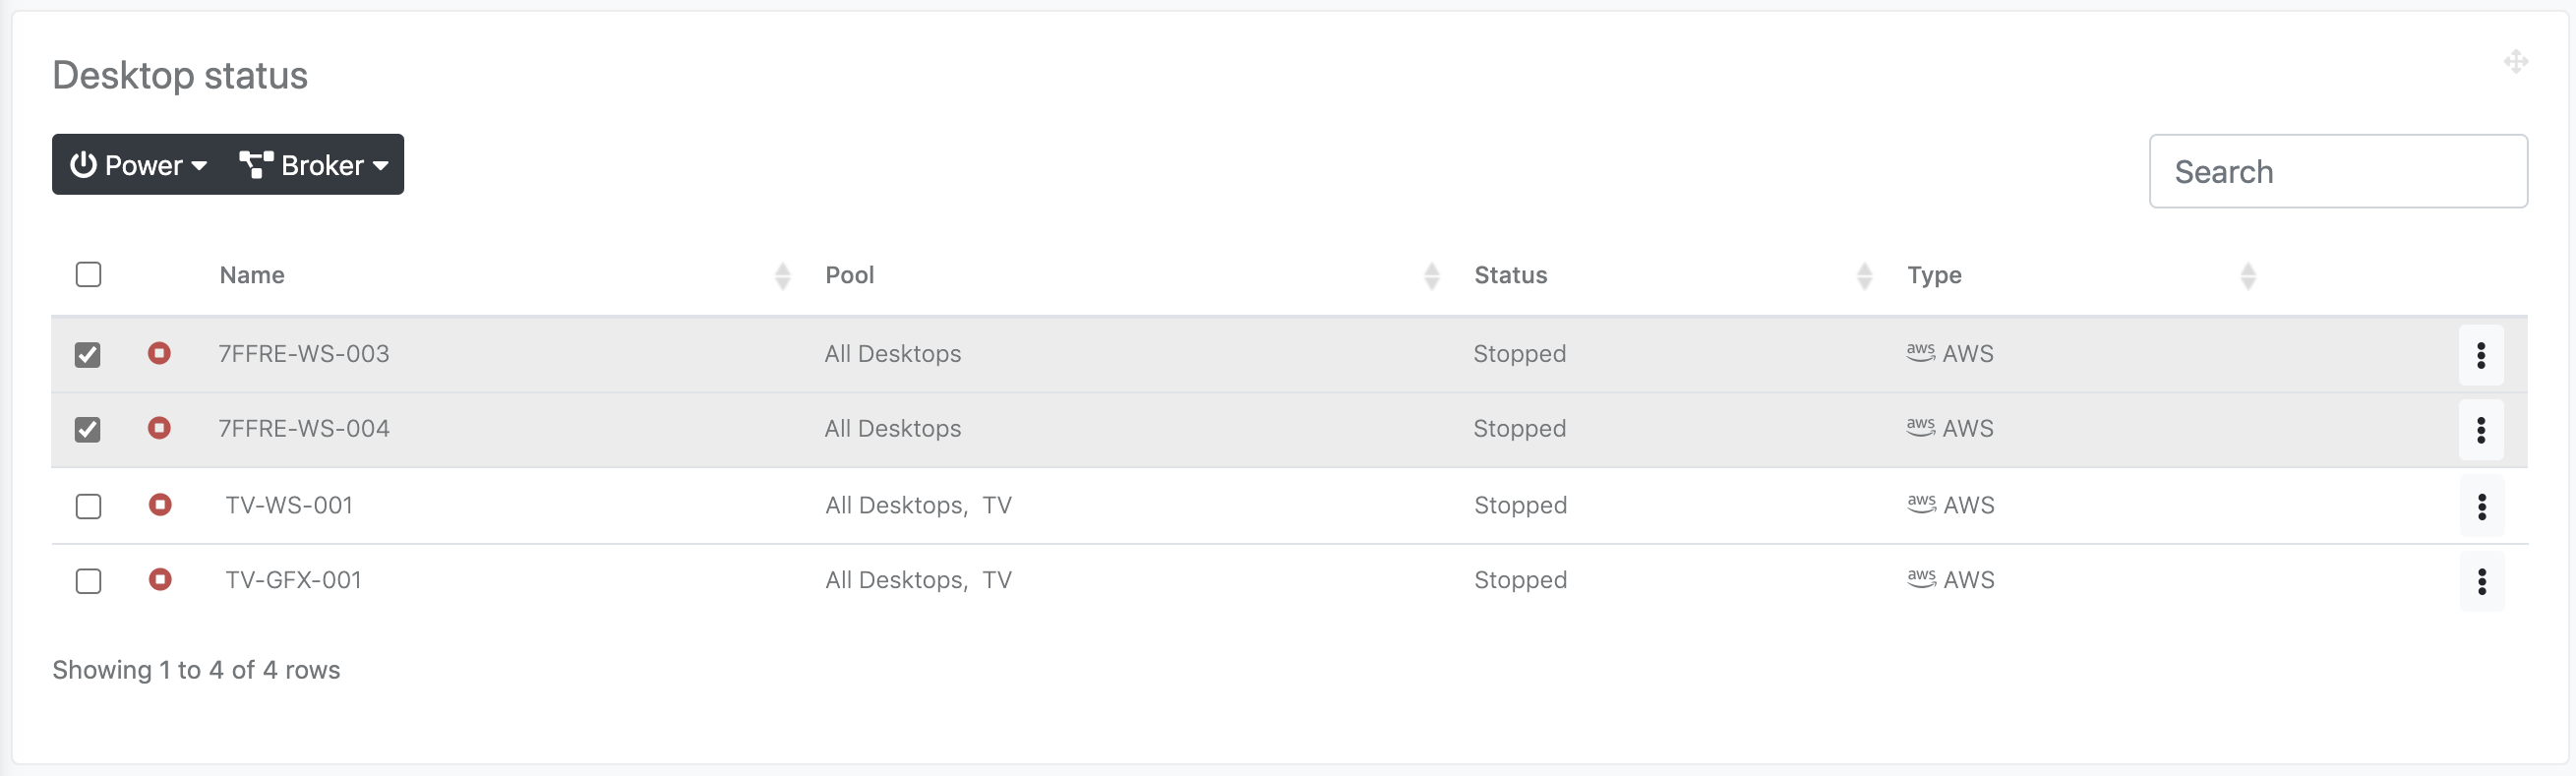
Selecting multiple workstations is as easy as clicking the check-box on the left of the workstation’s row, and then select your option from either the Power or Broker button. The Broker button will not be shown if the Broker integration is disabled. The following controls are available:
-
Power
-
Startup workstation
-
Shutdown workstation
-
Restart workstation
-
-
Broker
-
Release workstation
-
Mark workstation as available
-
Mark workstation as unavailable
-
Using the single workstation drop-down
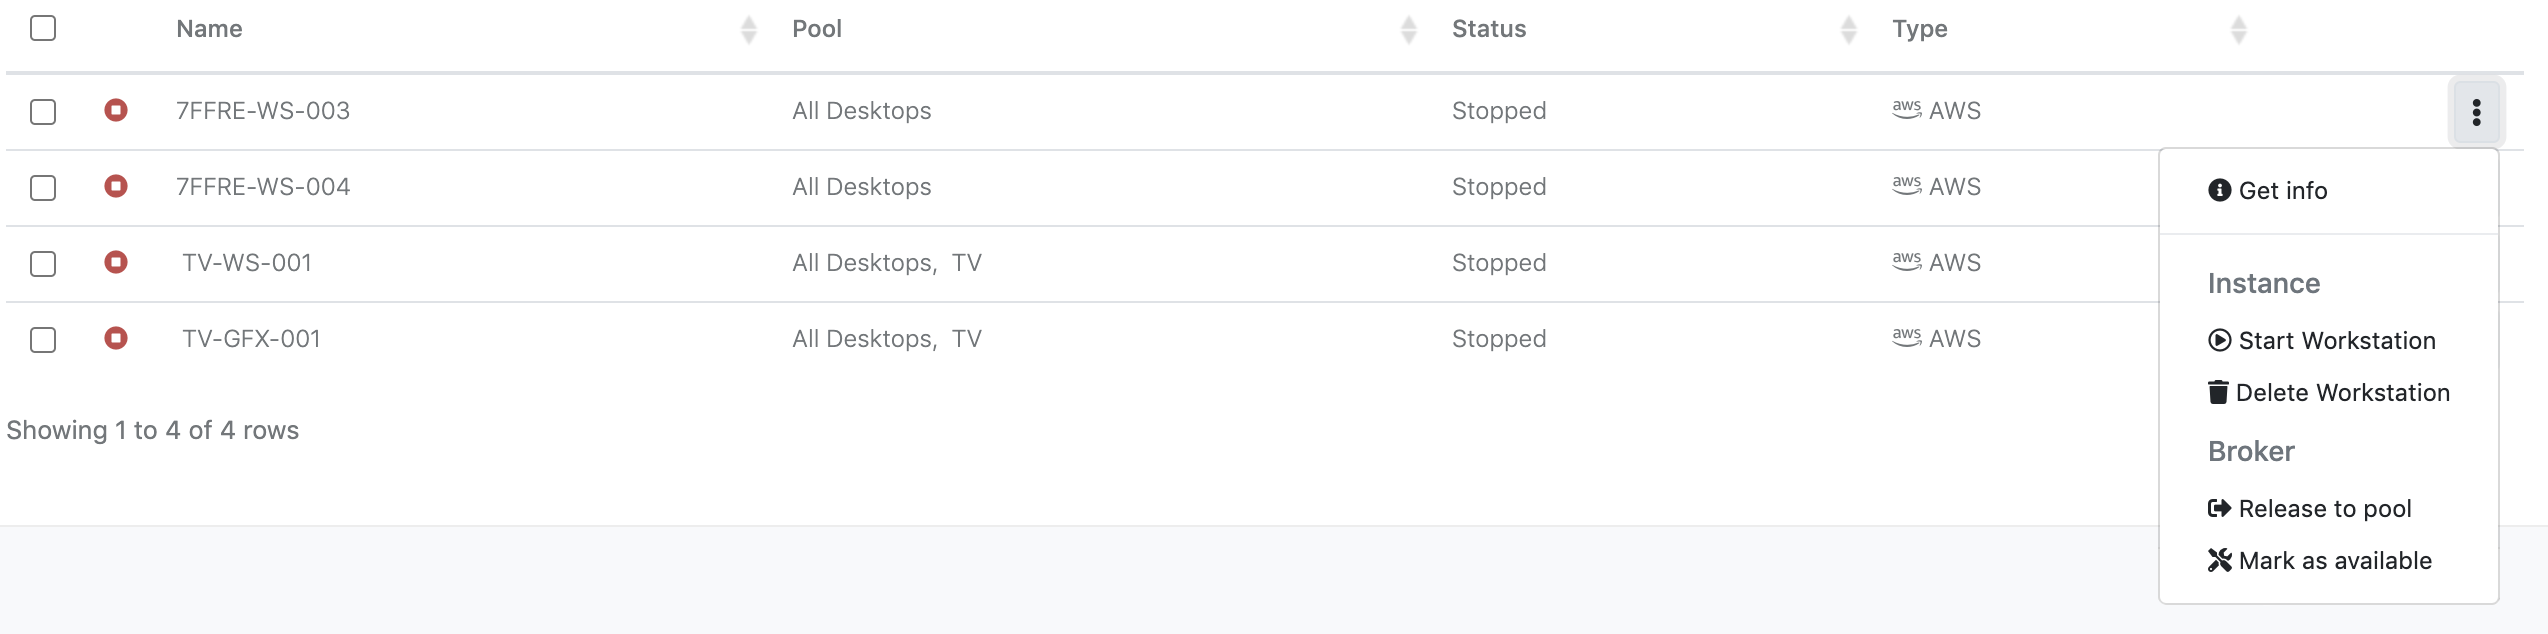
Some actions are only available via the workstation drop-down. They are dependant on a workstations state or the platform they are deployed on. The list below explains the different options available for the different machine states:
-
If the workstation is
runningorpending-
Get info
-
Shutdown workstation
-
Restart workstation
-
Stop workstation
-
Reset workstation
-
-
If workstation is
stopped-
Get info
-
Start workstation
-
Delete workstation
-
What do the options do?
‘Get info’ option
The Get info option will navigate the user to a page that shows details about the desktop and its broker status (if broker integration is enabled). From this page, the user can also modify workstation specific settings.
‘Start workstation’ option
The Start workstation option will request a workstation to turn on. To do this, select the option and then click Start in the confirmation dialog box. An event will be logged for this request.
‘Shutdown workstation’ option
The Shutdown workstation option will request a workstation to shut down. This is the same as pressing the power button on a workstation and will request that the workstation shuts down gracefully. To do this, select the option and then click Shutdown in the confirmation dialog box. An event will be logged for this request.
‘Stop workstation’ option
The Stop workstation option will request a workstation to stop immediately. This is the same as holding the power button on a workstation and will request that the workstation shuts down in a non-graceful manner. To do this, select the option and then click Stop in the confirmation dialog box. This option should only be used in the event a machine is unresponsive to a normal shutdown request. An event will be logged for this request.
‘Restart workstation’ option
The Restart workstation option will request a workstation to restart. This request is the equivalent of rebooting via the system's OS. To do this, select the option and then click Restart in the confirmation dialog box. An event will be logged for this request.
‘Reset workstation’ option
The Reset workstation option will request a workstation to be reset. This request is the equivalent of forcing a reboot via VMware. Workstations deployed on the AWS platform will be restarted as normal and a hard restart/reset will occur according to AWS’ platform. This option should only be used in the event a machine is unresponsive to a normal restart request. To do this, select the option and then click ‘Reset’ in the confirmation dialog box. An event will be logged for this request.
‘Delete workstation’ option
The Delete workstation option will request a workstation to be deleted. This action is permanent on most platforms and cannot be undone. To do this, select the option and then click Delete in the confirmation dialog box. An event will be logged for this request.
‘Release to pool’ option
The Release to pool option will request the broker to release an assigned user from a workstation. This will allow other users to connect to the system. Under normal circumstances, this option is not required. To do this, select the option and then click ‘Release’ in the confirmation dialog box. An event will be logged for this request. The broker integration needs to be enabled for this function to show.
‘Mark as available’ or ‘Mark as unavailable’ option
The Mark as available or Mark as unavailable option will be shown depending on what availability state the workstation is in on the broker. Setting the workstation as available will allow it to be accessed by users when connecting to the remote edit system. Setting the workstation as unavailable will prevent users from accessing the workstation. This is useful for removing a workstation from service while performing upgrades or troubleshooting an issue. To do this, select the option and then click the corresponding button in the confirmation dialog box. An event will be logged for this request. The broker integration needs to be enabled for this function to show.